AI数字人项目-hallo一键启动整合包
AI数字人项目-hallo一键启动整合包
noise介绍
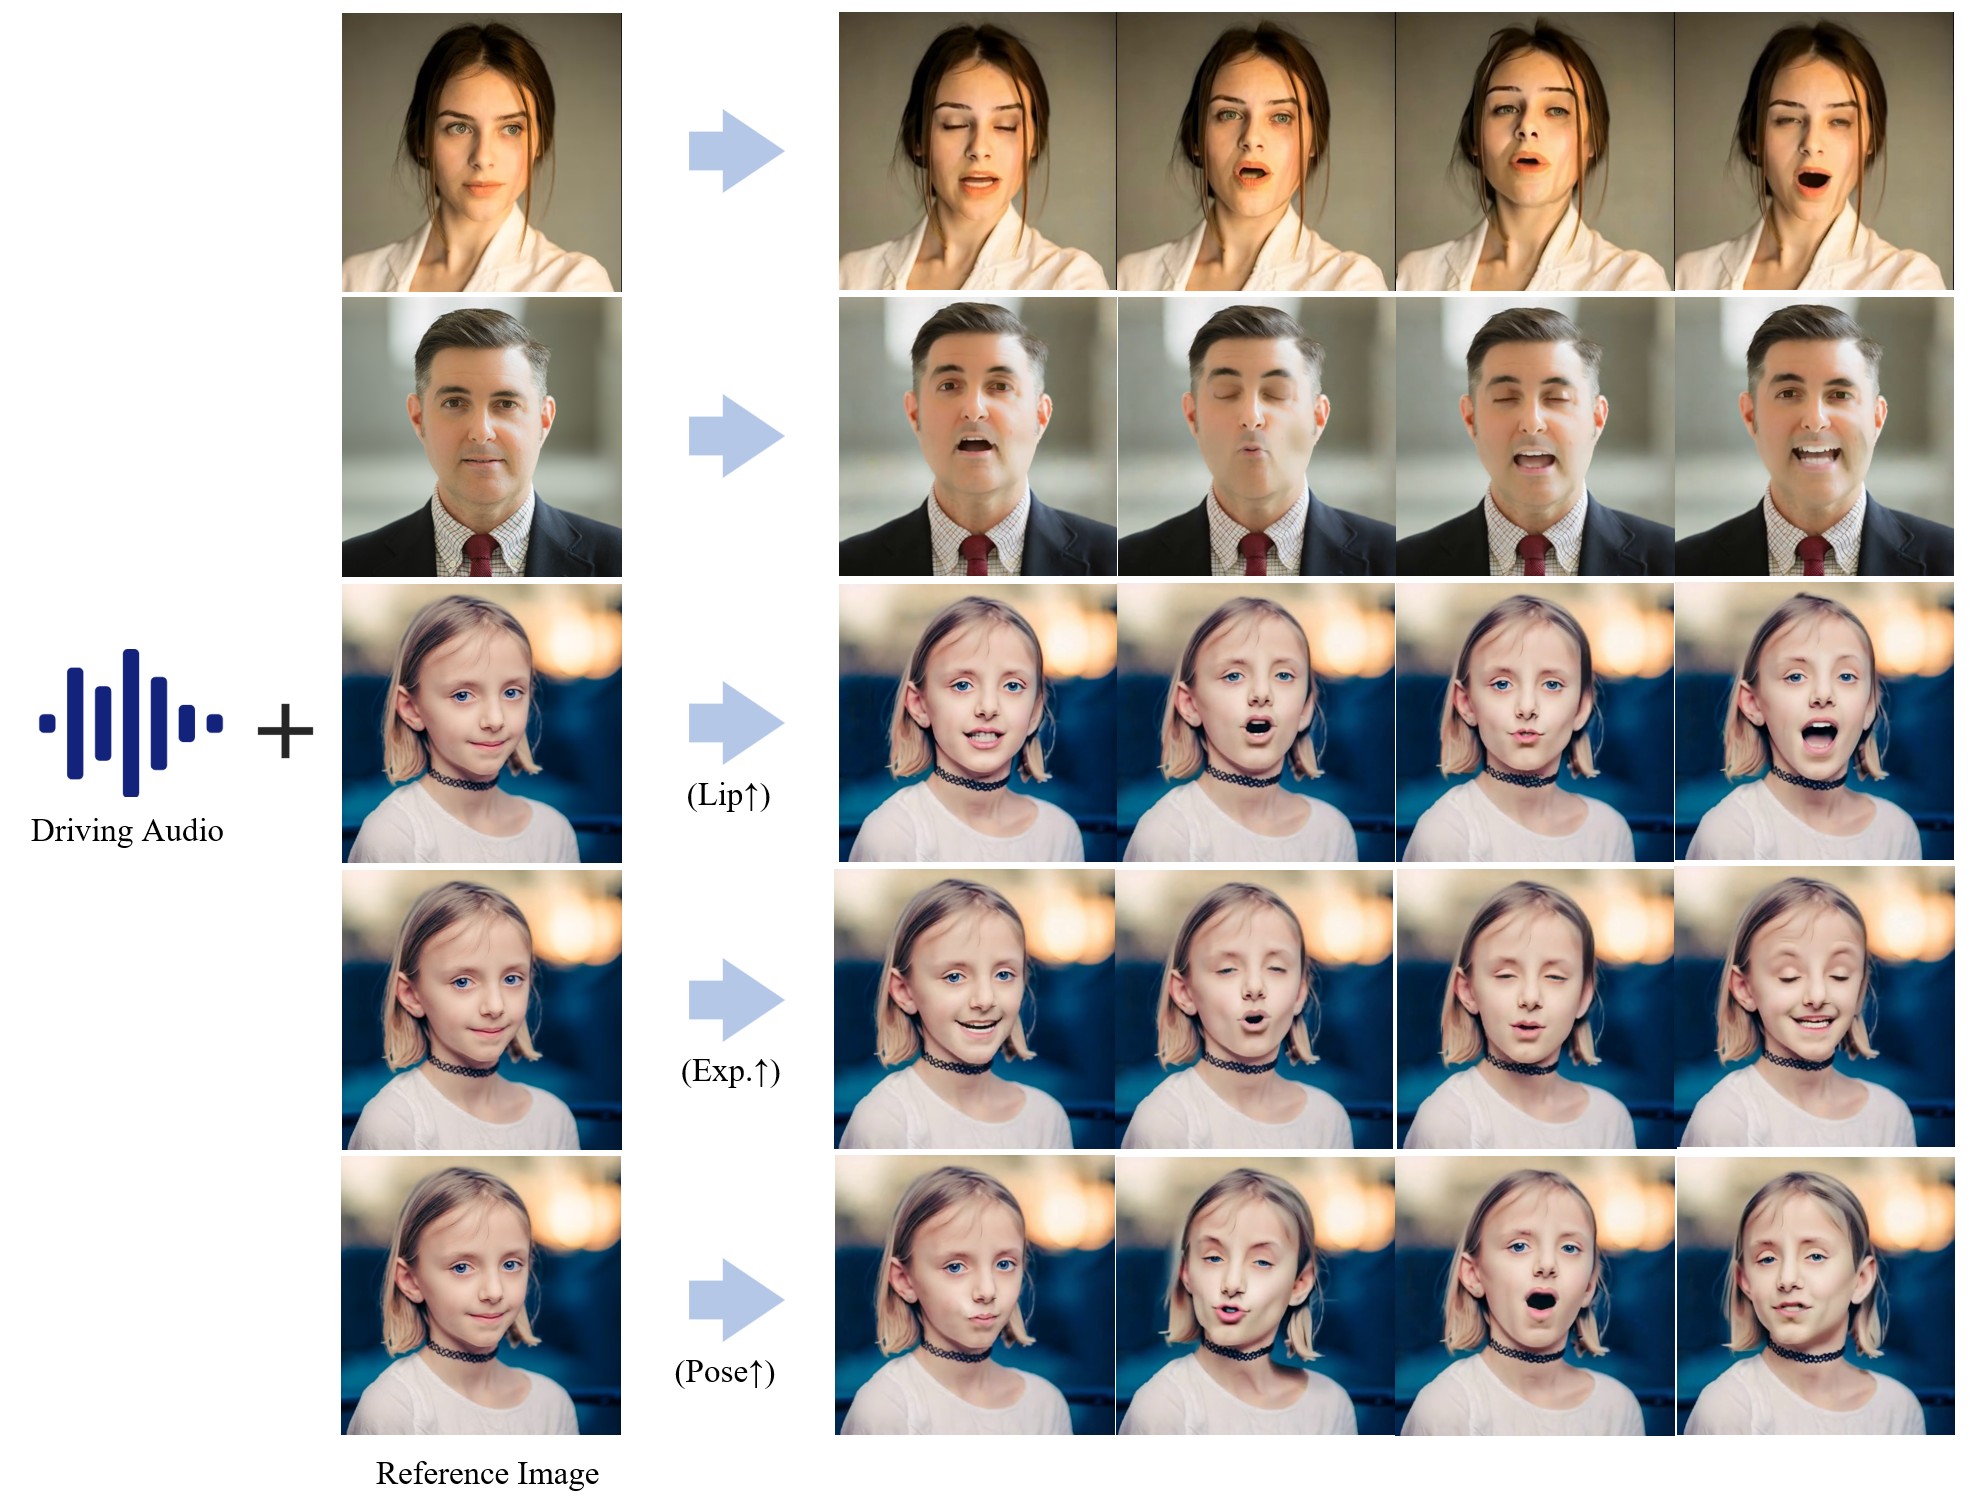
hallo是一个用于人像图像动画的分层音频驱动视觉合成的项目,在使用语音音频输入的驱动下,人像图像动画领域在生成逼真和动态的人像。它采用了端到端扩散范式,并引入了分层音频驱动的视觉合成模块,以提高音频输入和视觉输出之间的对齐精度,包括嘴唇、表情和姿势运动。无缝集成了基于扩散的生成模型、基于UNet的降噪器、时间对齐技术和参考网络。所提出的分层音频驱动的视觉合成提供了对表情和姿势多样性的自适应控制,从而实现了针对不同身份的更有效的个性化。在图像和视频质量、唇形同步精度和运动多样性方面取得了明显的提高
此外,该项目支持与 ComfyUI 工具集成
官网:https://fudan-generative-vision.github.io/hallo/
github:https://github.com/fudan-generative-vision/hallo
启动整合包下载:https://pan.quark.cn/s/455b24f79fc6
演示
启动包说明
启动整合包不包含训练模型,适用于WIN系统,大小6.8g,要求最低内存需要8G,训练模型可从 HuggingFace 存储库(https://huggingface.co/fudan-generative-ai/hallo)中获取推理所需的所有预训练模型。
通过以下cmd将预训练模型克隆到目录中:${PROJECT_ROOT}/pretrained_models
1 | git lfs install |
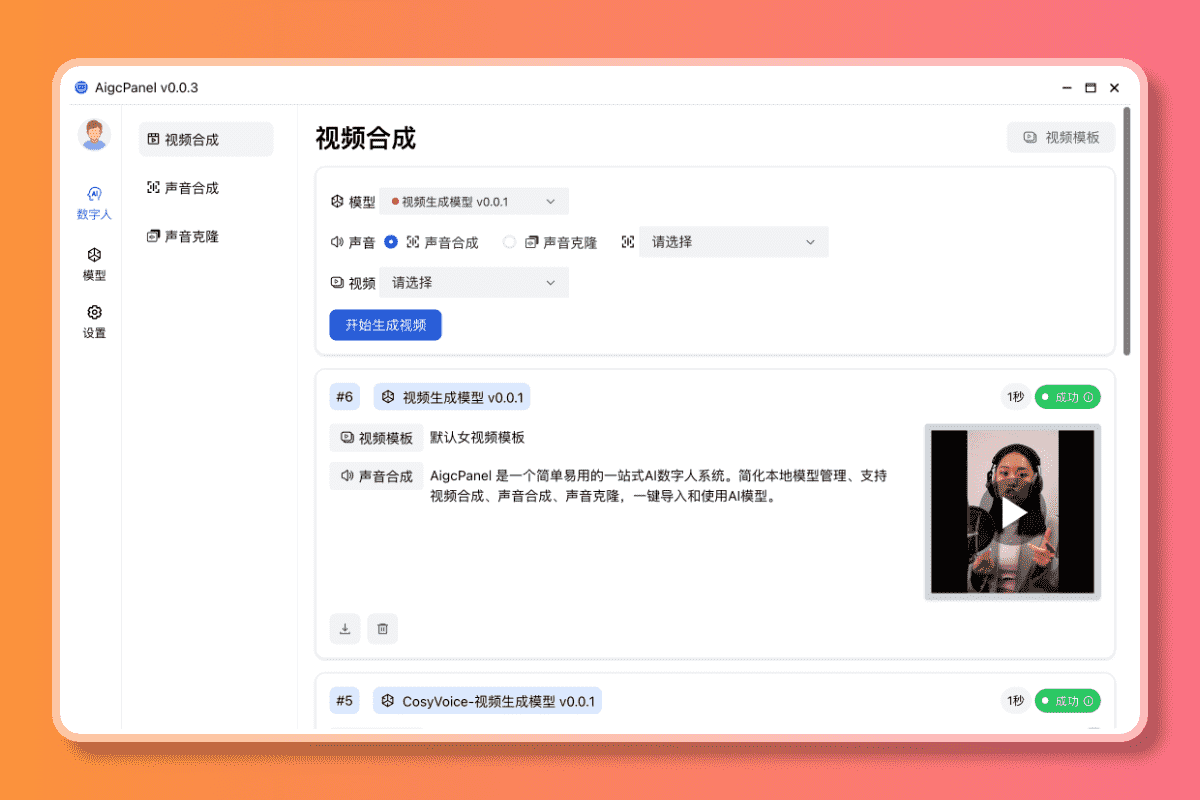
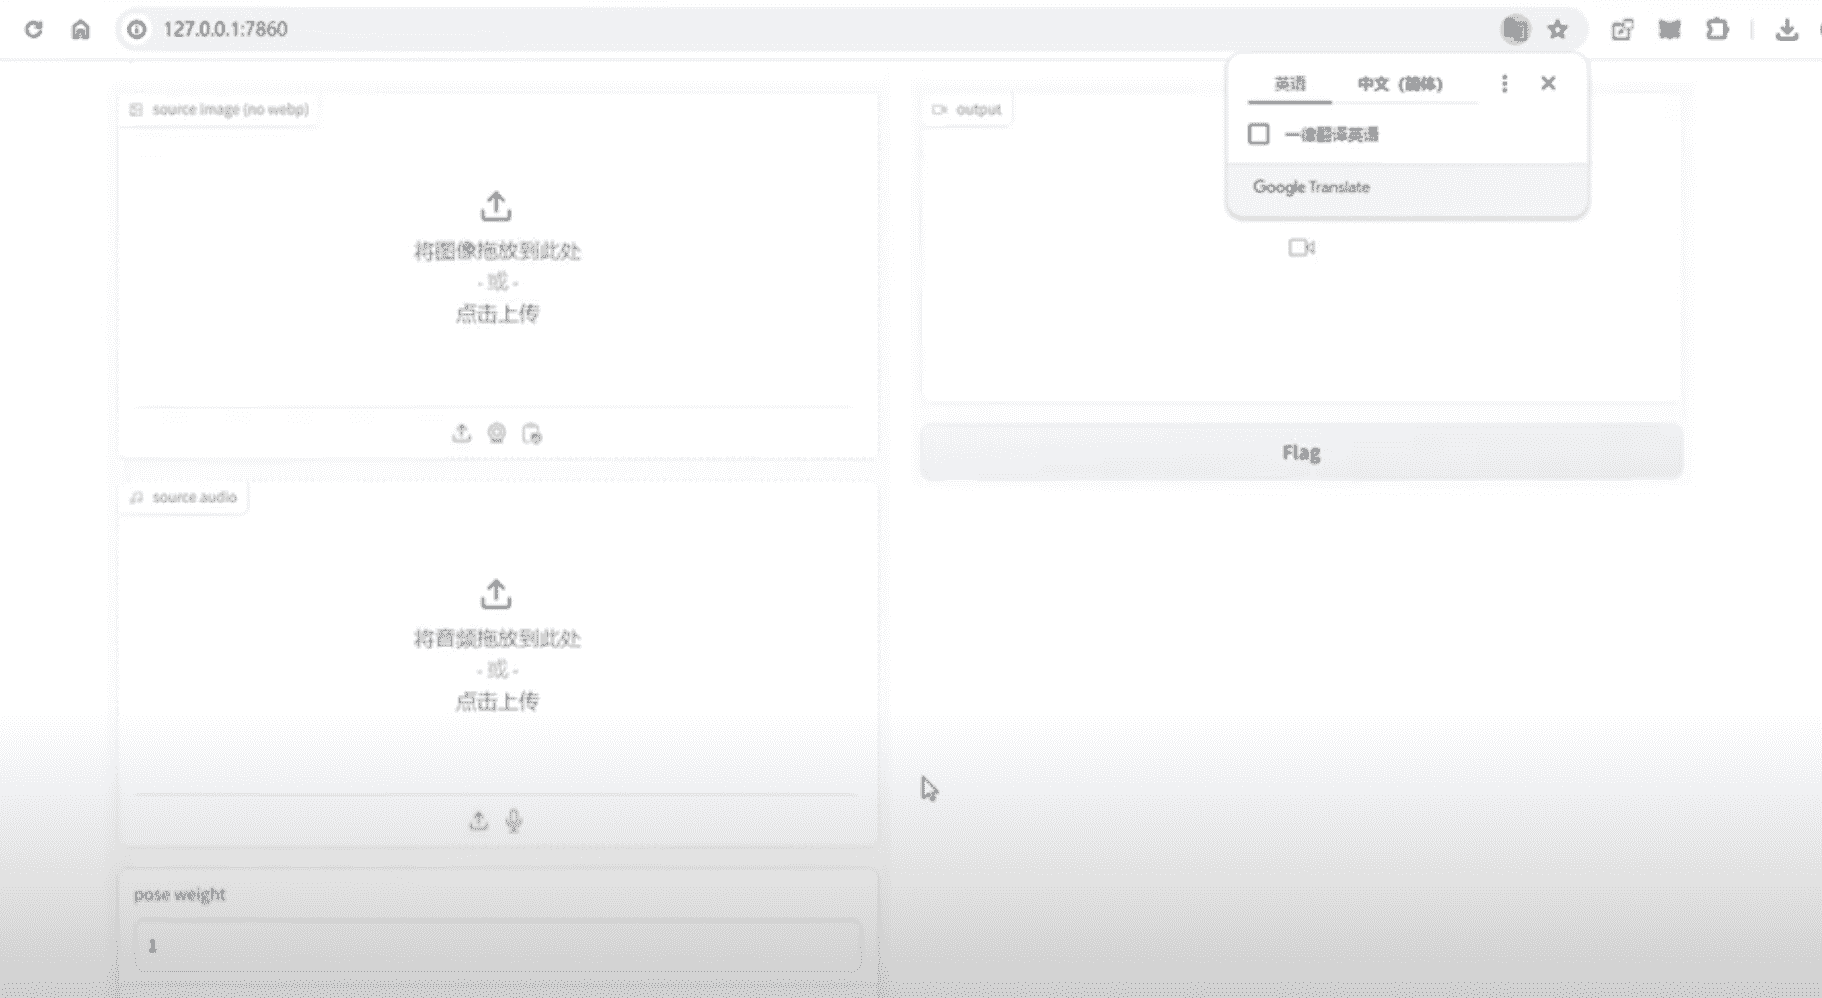
启动包运行后你可以在端口7860中找到ui界面
其它
官方社区版离线包下载:
https://huggingface.co/daswer123/portable_webuis/resolve/main/hallo-portable-2.zip?download=true
安装webui社区版
Docker安装
1 | docker compose up -d |
这将启动 Gradio Web UI,并将映射到 8020 的端口 7680 公开到容器的主机 该应用程序将于 http://localhost:8020 年提供
注意:如果 GPU 驱动程序版本不是从头开始构建的,请务必为您的 GPU 驱动程序版本使用正确的 cuda 启动映像。
WIN
克隆此存储库:
1
git clone https://github.com/yourusername/hallo.git
运行以设置环境并下载预训练模型。
install.bat确保系统上安装了 ffmpeg。它位于何处并不重要,只要系统能找到它。
通过运行 来启动 Web 界面。
start.bat
Linux操作系统
克隆此存储库:
1
git clone https://github.com/yourusername/hallo.git
运行以设置环境并下载预训练模型。
install.sh确保系统上安装了 ffmpeg。您可以通过以下方式安装它:
1
sudo apt-get install ffmpeg
通过运行 来启动 Web 界面。
start.sh
手动安装
如果您希望手动安装,以下是详细步骤:
克隆存储库和预训练模型:
1
2
3
4git lfs install
git clone https://github.com/yourusername/hallo.git
git clone https://huggingface.co/fudan-generative-ai/hallo pretrained_models
curl -L -o pretrained_models/hallo/net.pth https://huggingface.co/fudan-generative-ai/hallo/resolve/main/hallo/net.pth?download=true创建一个虚拟环境并激活它:
1
2
3
python -m venv venv
venv\Scripts\activate # For Windows
source venv/bin/activate # For Linux安装所需的软件包:
1
2
3
pip install -r requirements.txt
pip install -e .
pip install bitsandbytes-windows --force-reinstall # For Windows only安装 GPU 库:
1
2
pip install torch==2.2.2+cu121 torchaudio torchvision --index-url https://download.pytorch.org/whl/cu121
pip install onnxruntime-gpu启动 Web 界面:
1
python app.py